When a bottle leaks, the cap is usually in spec — and so is the preform. The failure lives in the space between them: a neck finish and a closure thread that were each built "correctly" but never designed to meet each other. This guide explains, in plain language, what the finish dimensions actually mean, how tolerances stack up against each other, and — most practically — how to order your preform and cap molds so the parts fit on the first trial instead of becoming a three-way argument between mold shops.
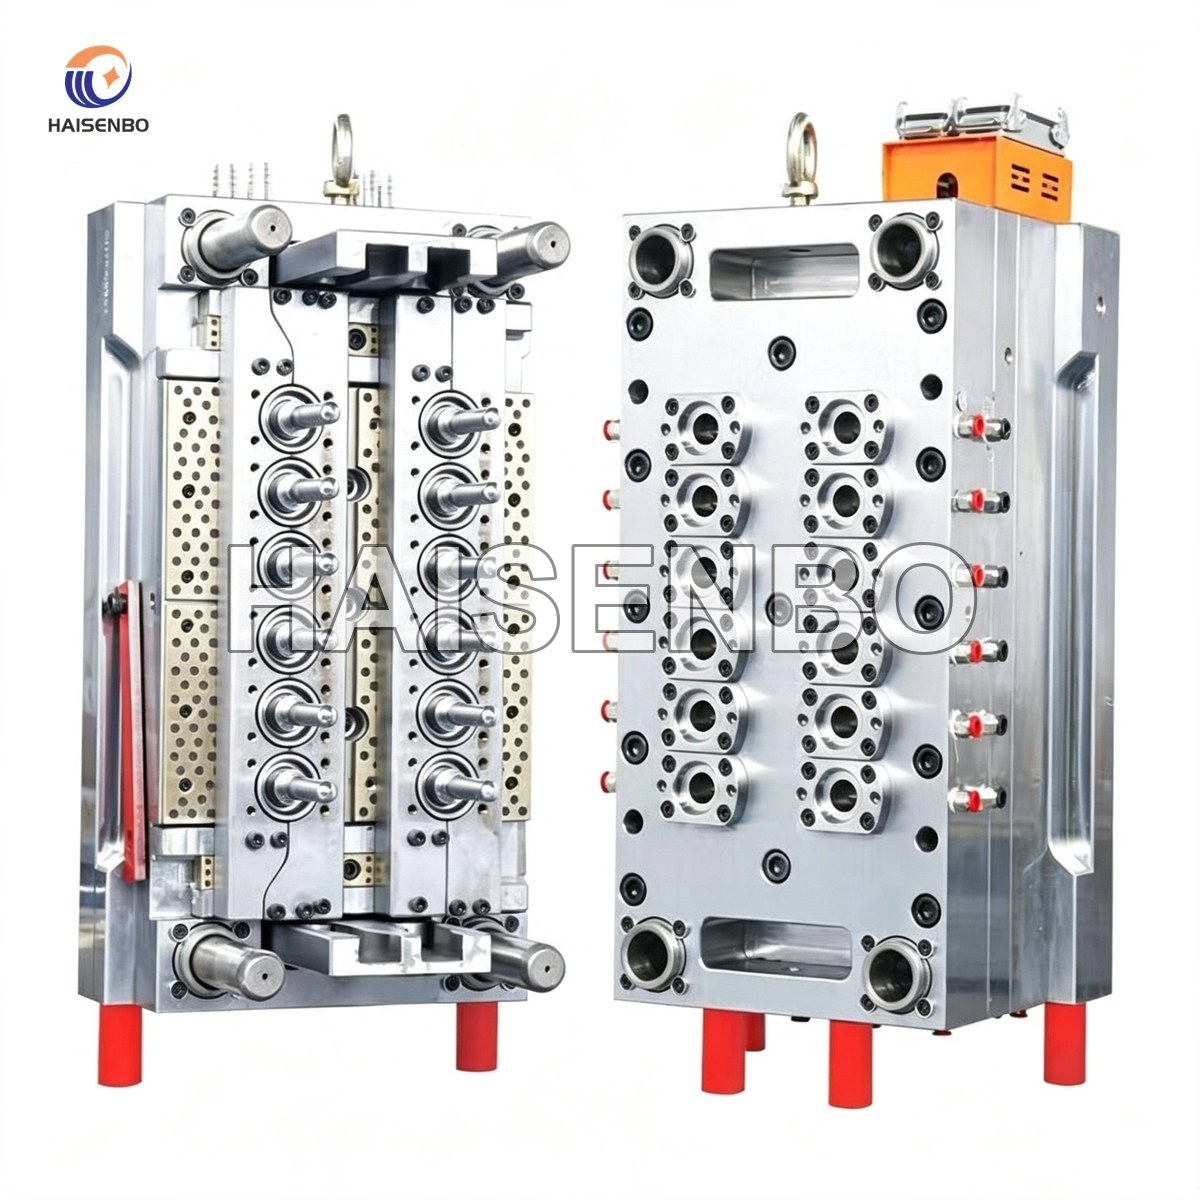
1. What "Neck Finish" Actually Means
Every standard bottle neck is defined by a published finish specification — a drawing that fixes the thread, the sealing surface and the overall neck geometry. Industry standards for beverage finishes are maintained by ISBT (the International Society of Beverage Technologists), and most preform and closure tooling in the world is cut to one of these standard finishes. The specification is expressed through a handful of letter dimensions:
| Dimension | What it is | Why it matters for the fit |
|---|---|---|
| T | Thread outside (major) diameter | With E on the cap, sets how tightly the thread engages |
| E | Thread root (minor) diameter | Same pair, opposite side of the thread |
| I | Inner bore of the neck opening | Clearance for filling, and for linerless seal designs |
| H | Finish height (top of neck to shoulder) | How many thread turns actually engage |
| Sealing surface | Top land of the finish | Where the cap's liner or seal land stops the leak |
Depending on finish size, the critical thread dimensions are held to bands on the order of a few hundredths of a millimetre — typically in the ±0.05 to ±0.10 mm range. That is the precision the whole closure system depends on, and it is why the finish area of a preform mold and the thread of a cap mold are the most expensive zones to machine and the first place a cheap tool cuts corners.
2. Tolerance Stack-Up: Why Two "Good" Parts Don't Fit
Here is the part buyers are rarely told. A finish spec gives a tolerance band for each dimension. Suppose the preform's thread diameter can sit anywhere in its band, and the cap's matching thread can sit anywhere in its band. Each shop aims at wherever its process naturally centers — and there is no guarantee the two centers meet.
- Preform shop machines thread diameter toward the lower limit (safer for demolding, less steel wear).
- Cap shop molds its thread toward the upper limit (safer against short shots in the thread cavity).
- Both parts pass their own inspection. Screwed together, the fit is loose — the closure leaks under pressure or backs off in transit.
The opposite mismatch is just as bad: both dimensions at the tight end of their bands gives excessive engagement torque, inconsistent removal torque on the capper, and thread galling on high-speed lines. Ovality adds a third axis of trouble: a round thread dimension measured at two points can still be out-of-round enough to jam a capper head.
The key idea: a tolerance band only guarantees a fit if the two parts are designed into the same band, from the same nominal, by the same engineering intent. Two independent shops hitting two independent process centers is a coin-flip, not a system.
3. What Mismatch Looks Like on the Filling Line
You rarely see "tolerance stack-up" on a rejection report. You see its symptoms:
- Leaks — the sealing surface and the cap's liner never develop even contact, so pressure or liquid finds a channel.
- Torque scatter — removal torque varies bottle to bottle, failing customer torque specs even when the average looks fine.
- Cross-threading and thread jump — thread starts and pitch don't align, and the capper drives the cap on crooked.
- Capper jams — oval necks stall the closer heads; on a high-speed line this is downtime measured in bottles per minute.
- The blame triangle — each mold shop measures its own part, finds it in spec, and the interface problem belongs to nobody.
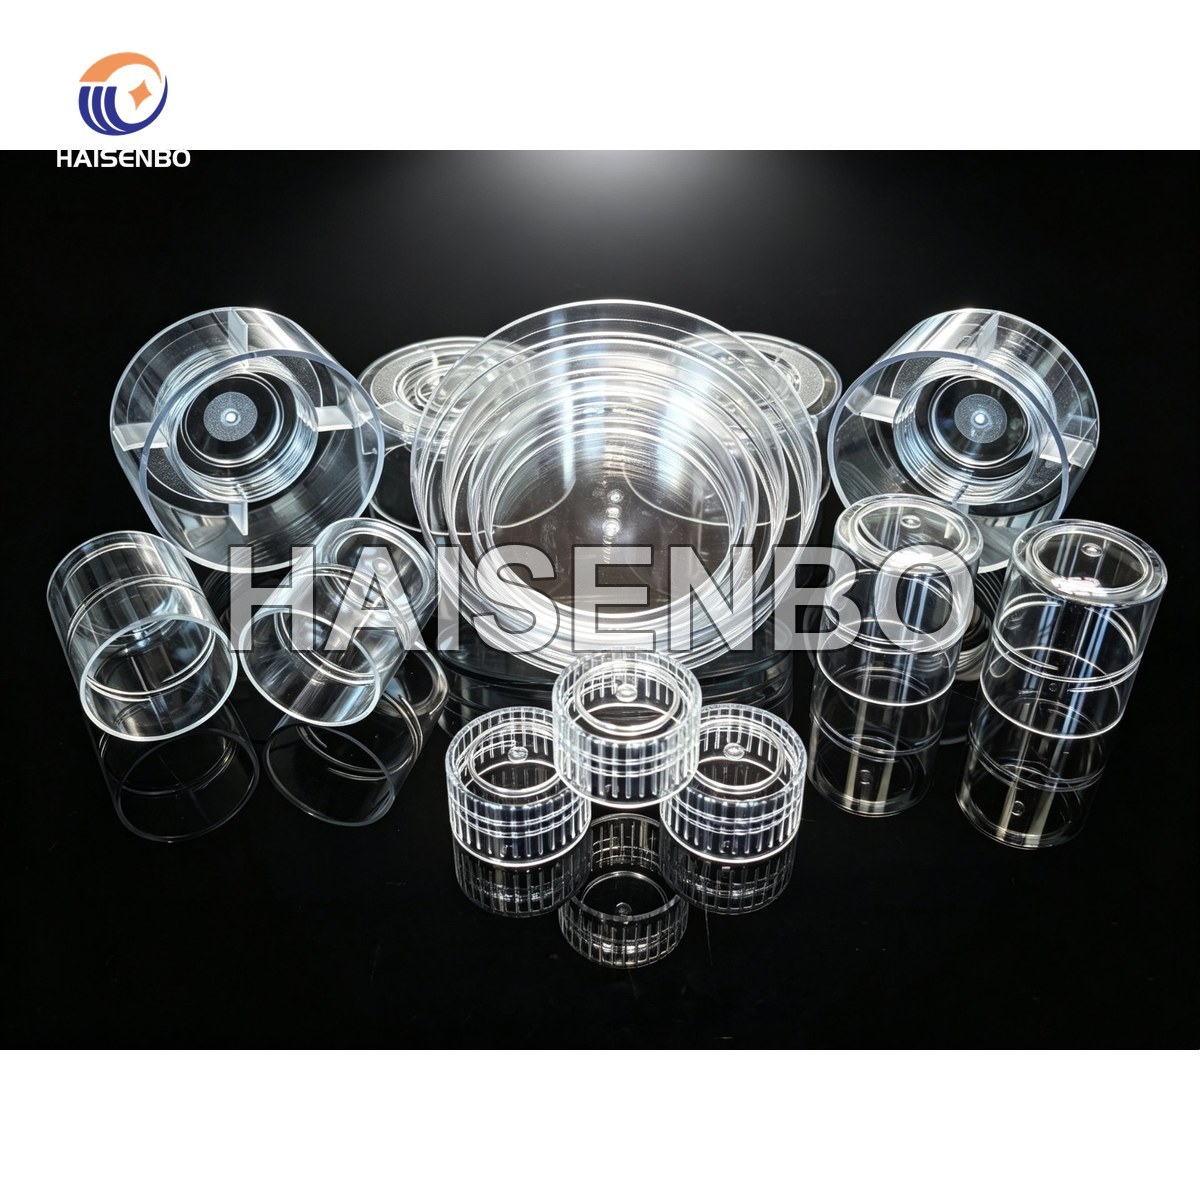
4. How to Buy So the Parts Actually Match
Whether you use one supplier or three, put these clauses in the order:
- Name the finish standard and its revision in every PO — preform, cap, and blow mold. "Standard 1810-style finish" is not a spec; a finish designation and revision is.
- Cross-release the drawings. The cap mold shop receives the preform drawing, and vice versa. Each shop's DFM must reference the mating part, not just the standard.
- Ask where each shop centers its process. A good preform mold maker will tell you their thread centering strategy relative to the band — and a good cap maker should be aiming at the complementary position.
- Require a matched pair check before shipment: cap samples physically tried on preform samples, with engagement and removal torque reported, before tools leave the factory.
- Assign ownership of the interface. One supplier, or one named shop, is responsible for the fit — in writing. This single clause dissolves the blame triangle.
The cleanest way to satisfy all five at once is also the oldest: have the preform mold, the cap mold and the blow mold built by one supplier, on one engineering standard, against one set of inspection equipment. Haisenbo has built all three since 1996 — matched DFM review, threads cut to complementary position in the band, and cap-on-preform fit checked together before anything ships.